
Version (2.9.1) onwards
Import Data is a tool which is to be used for first-time import of data only as it replaces all existing data for the selected dataset. To view existing data and manage (add, remove, update) selected entries for most of the data sets, use the Manage Tool in the Admin App.
| Please note |
|---|
| The import file must be in .xls or .xlsx format (Microsoft Office Open XML Format Spreadsheet). It must not be larger than 2 MB. And it must have all the columns as per summary provided below. |
While adding student information, please maintain a sequence in which details need to be added i.e. Term, Class, and Student Info, as they are interrelated.
Adding Term
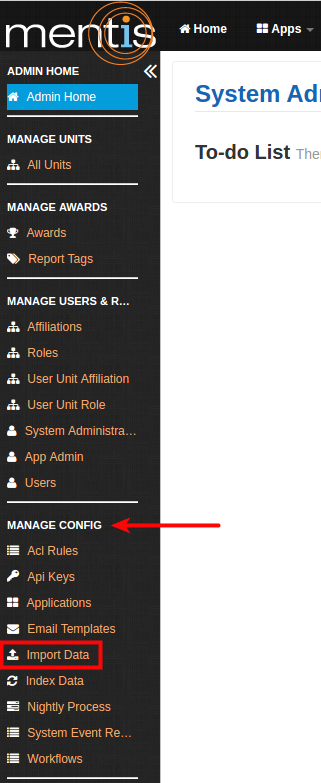
1. Once inside the Admin area, select Import Data present under Manage Config.
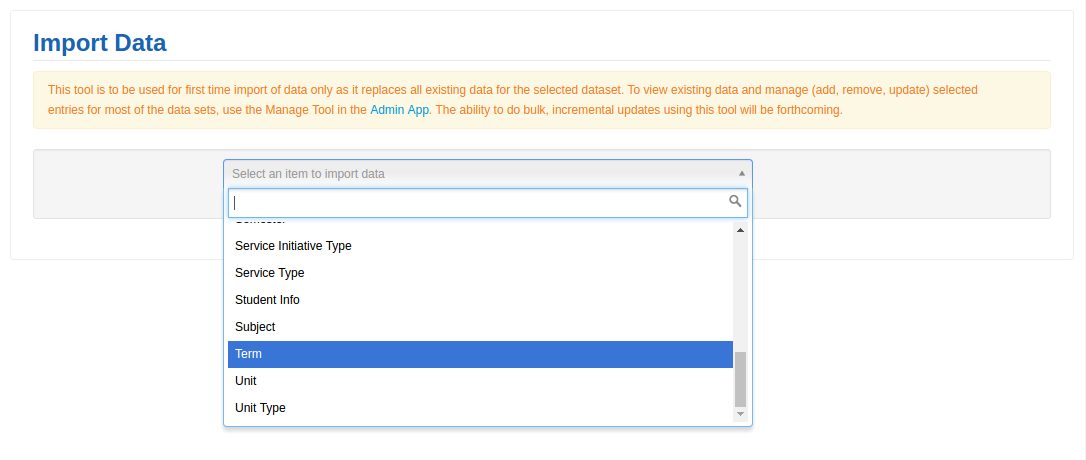
2. Select Term from the drop down for select an item to import data.
3. Click on Choose file present under Import File. You can download a predefined template using download option present on the right-hand side.
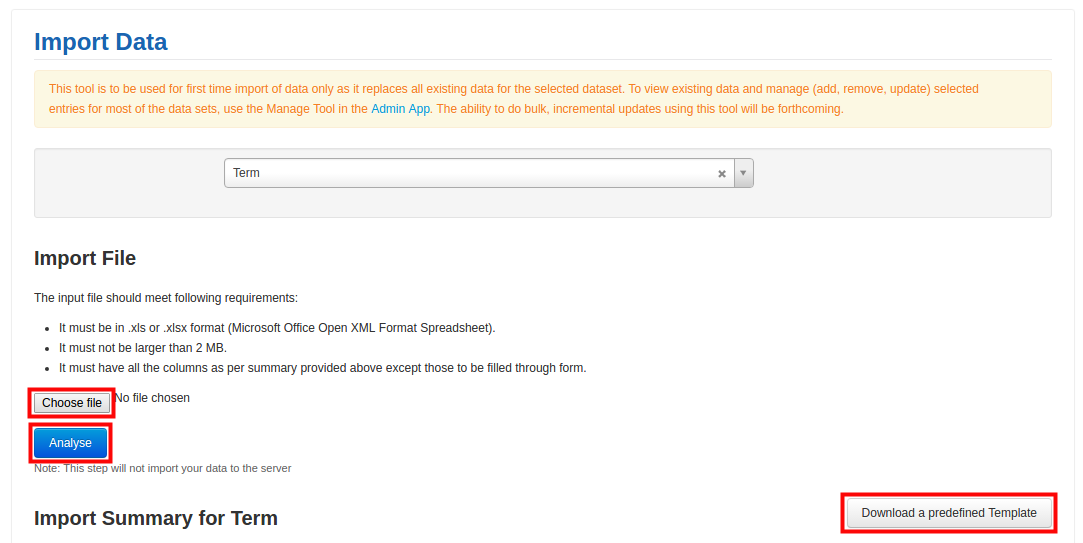
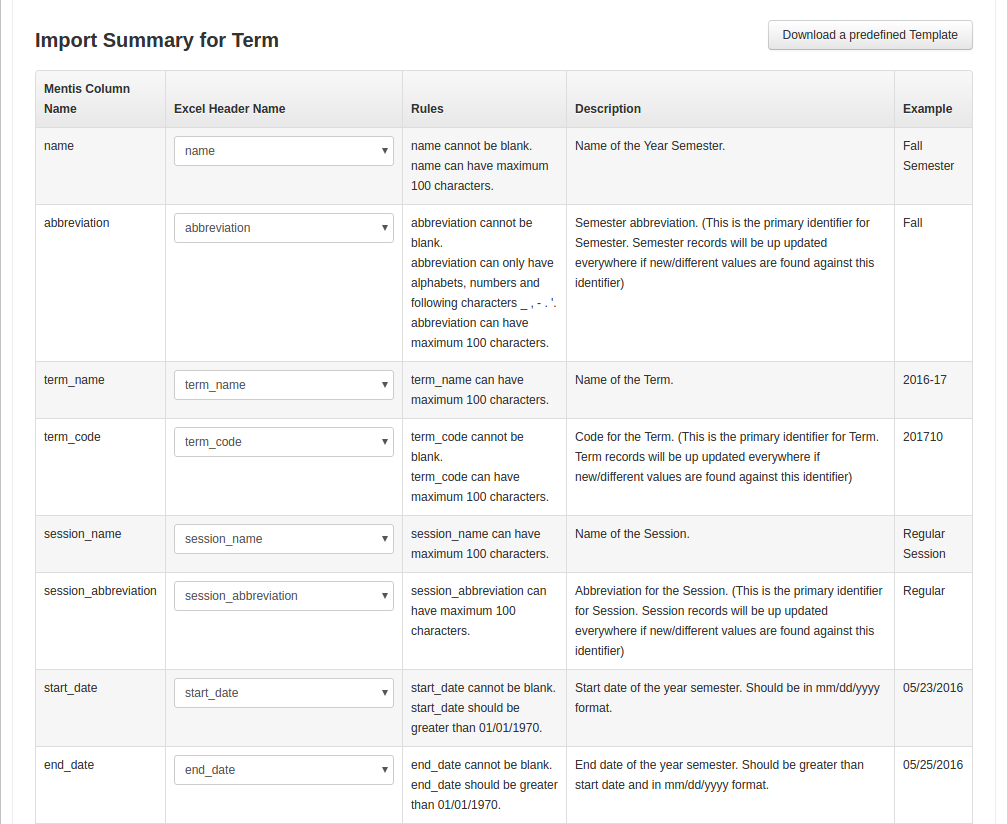
4. You can analyze a particular .xls or .xlsx file using Analyse button. The result is shown in the Import Summary for Term, where you can match Excel Header Name those with Mentis Column Name. The Analyse step will not import your data to the server.
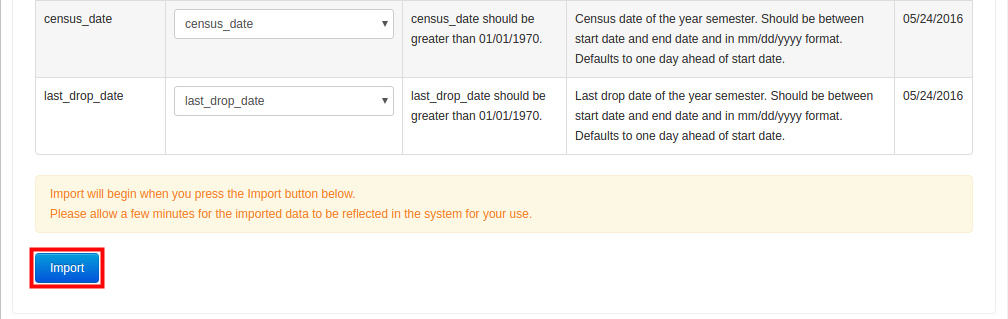
5. Click on Import. Please allow a few minute for the imported data to be reflected in the system for your use.
You can repeat these steps, to import data for class and enrollment records in that order.
Comments
0 comments
Please sign in to leave a comment.