
Updated for version 2.6: Update authorization status, record expenditure and attach documents and communication associated with the authorization of your programs.
Adding a new state authorization record
Once inside the ELC app, select Authorizations present under Manage ELC from the sidebar.
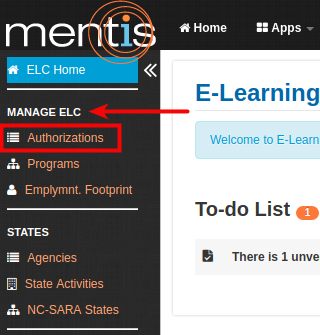
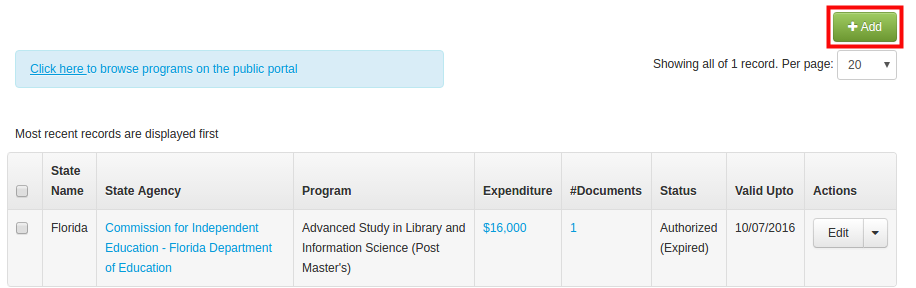
1. Click on Add button present on the right-hand side.
2. Select a State, Status and State Agency for fields marked as #1, #2 and #3 respectively.
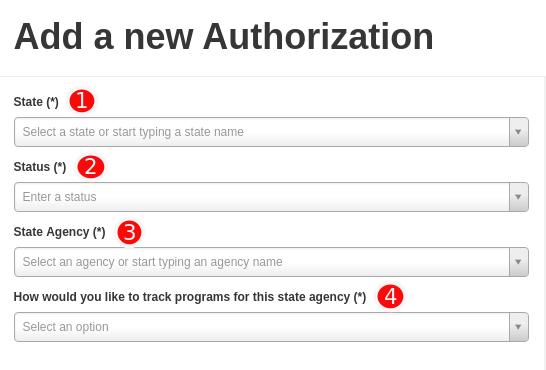
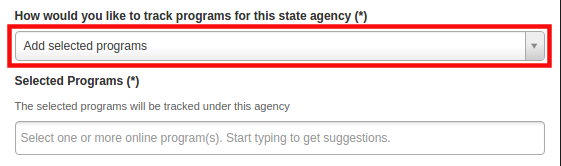
3. Select how would you like to track your programs (see #4 in the screenshot above) by selecting from one of these options:
Note: This selection option is only enabled if you don't have any records currently being tracked for the selected state agency. Once a selection is made, you will only be able to add the individual programs for tracking or edit this original record.
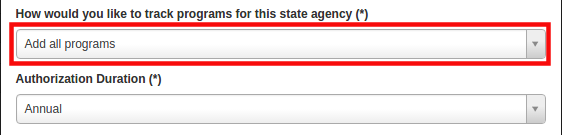
a. Add all programs: Use this option if a large percentage of your programs need to be tracked in a particular status for the selected agency. You can still add a few programs as exceptions and track them separately.
b. Add selected programs: Use this option if you are wanting to track individual programs in different statuses against different agencies. You can then select one or more programs in the text box that appears below.
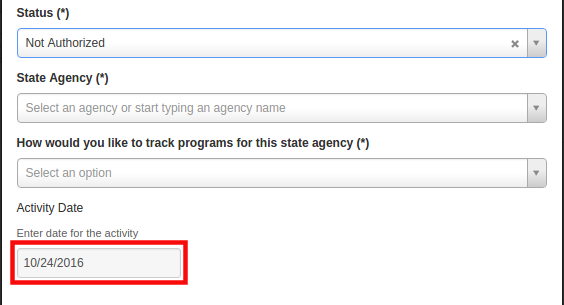
Activity Date
An activity date is required when the status is Not Authorized or In Process to capture the date for the status for reporting purposes and is populated with the current date by default. You can change that date if required or leave it as it is.
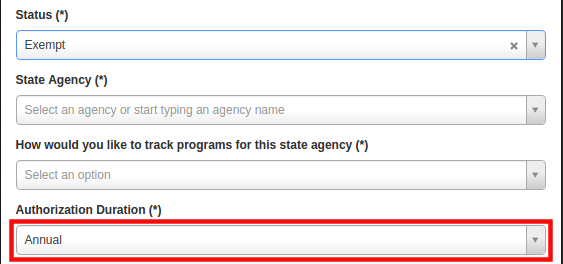
Authorized or Exempt Status
If you mark a record as authorized or exempt, in place of an activity date you are asked to specify the validity of the authorization as Annual, Biennial, Lifetime or Custom. In Exempt status, you can select all programs or add selected programs.
You can then change the start date (defaulted to the current date) and the system automatically updates the end date based on the validity selected. This cannot be changed, unless you select custom validity in which you can easily alter the end date as well for anything in between.
You can add renewal reminder by selecting the number of days for renewal reminder from the drop down list of 30, 60, 90 and 180. You would be able to see the date on which todo will be generated on your dashboard.
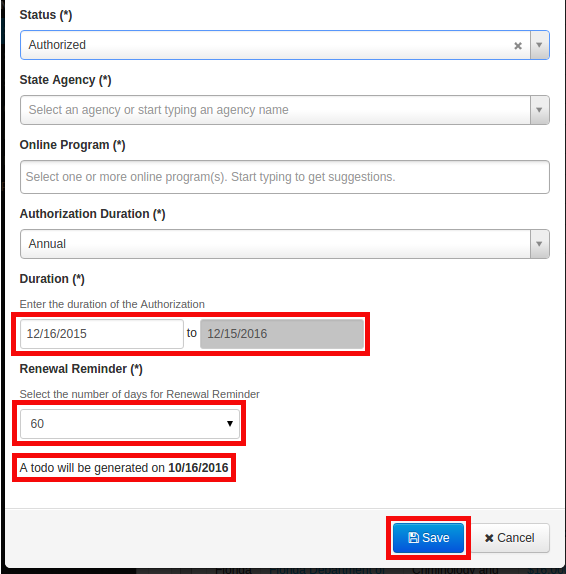
To save the record, click on Save.
Adding expenditure and documents
Expenditures
On the manage state authorization page,
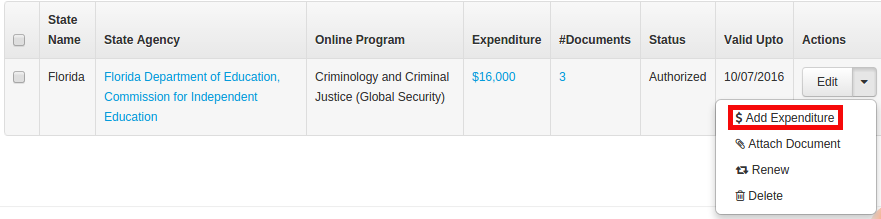
1. Click on the drop-down button next to Edit present under the Actions column to bring up the Add Expenditure form.
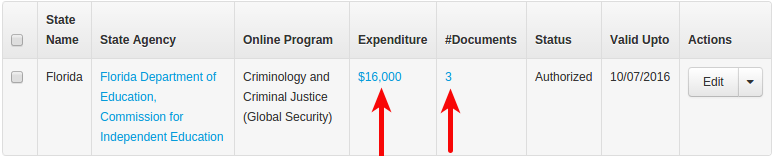
Note: To view existing expenditures, click on the total expenditure amount under the Expenditures column.You can also use this screen to make changes to existing expenditure records (change expenditure category, amount, expense date etc.).
2. In Add Expenditure form you need to add details in following fields,
(1) Enter gross expenditure in US $.
(2) Select a category of expense from a drop-down list or enter a new one (see how to manage expense and document categories).
(3) Change date of expense (by default the current day is selected).
(4) Add remarks to records notes or comments for reference.
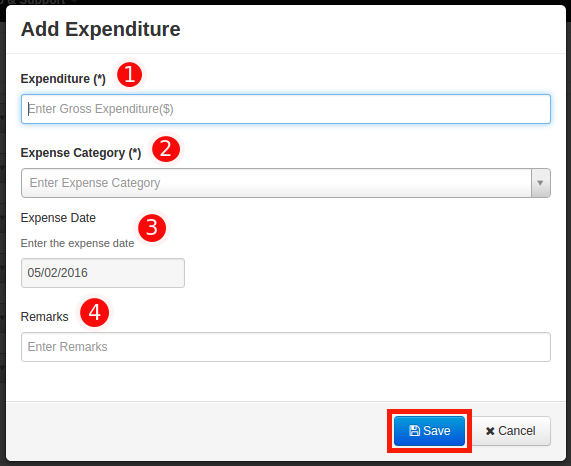
3. Click on Save. All changes will automatically reflect on screen.
Documents
1. On the Manage state authorization page, click on + Document button present under Actions to bring up the Add Documents form.
Note: To view and/or download existing documents, click on the # of documents. These screens can then also be used for editing existing documents (changing document category, replacing document, changing activity date etc.)
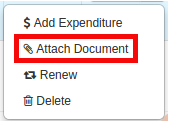
2. Select a Document Category from the drop-down list or enter a new one. Change the document date from the current day if required and then click on Attach documents. You can browse all files already uploaded by you (coming soon) or upload one or more new ones.

3. Click on Save to complete. All changes will automatically reflect on screen.
Editing or removing state authorization
Editing state authorization
You can edit an existing state authorization record using the Edit button present under Actions respectively.
This will bring up the Edit form which will be identical to the add form where you can make all changes and save.
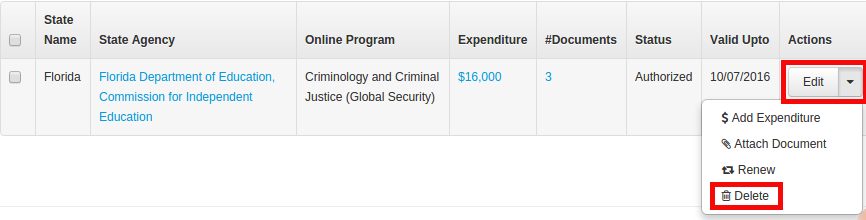
Removing a state authorization record
You can delete an existing state authorization record by clicking the Delete button under Actions. The system will request a confirmation and then delete the record.
Bulk Editing
You can bulk edit records, by selecting one or more checkboxes from the list on Manage state authorization page, and select the bulk operation you need to perform.

In Bulk Action, you can attach a document, add expenditure, change the status of records having similarities. You can also delete one or more records.

Other features
-
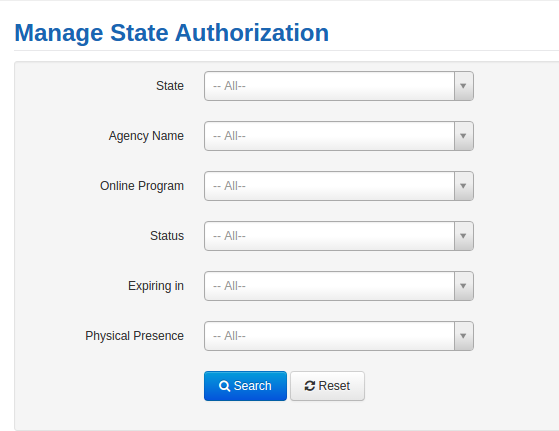
Searching and Filtering: You can review and view your state authorization records by using the filters at the top of the page to narrow the listing.
-
Editing expenditures and documents: By clicking on the $ amount or the number of documents as indicated, brings up the details for that particular record. You can then view that information, edit or delete individual expense and document records if required.
-
Browse programs and view availability: You can also browse programs and their state availability on the public portal using the shortcut provided on the page link.

Known issue: In Manage State Authorization, when we try to edit and change the status of some record from In Progress to any other status with "All programs" selected and save then a message pops up saying "Select a program. Start typing to get suggestions". This issue appears intermittently and goes away when you open close and open the dialog again. We are working on this issue and will be resolved in future release.
Comments
0 comments
Please sign in to leave a comment.